How to Create Barcode Labels in Your Browser: Step-by-Step
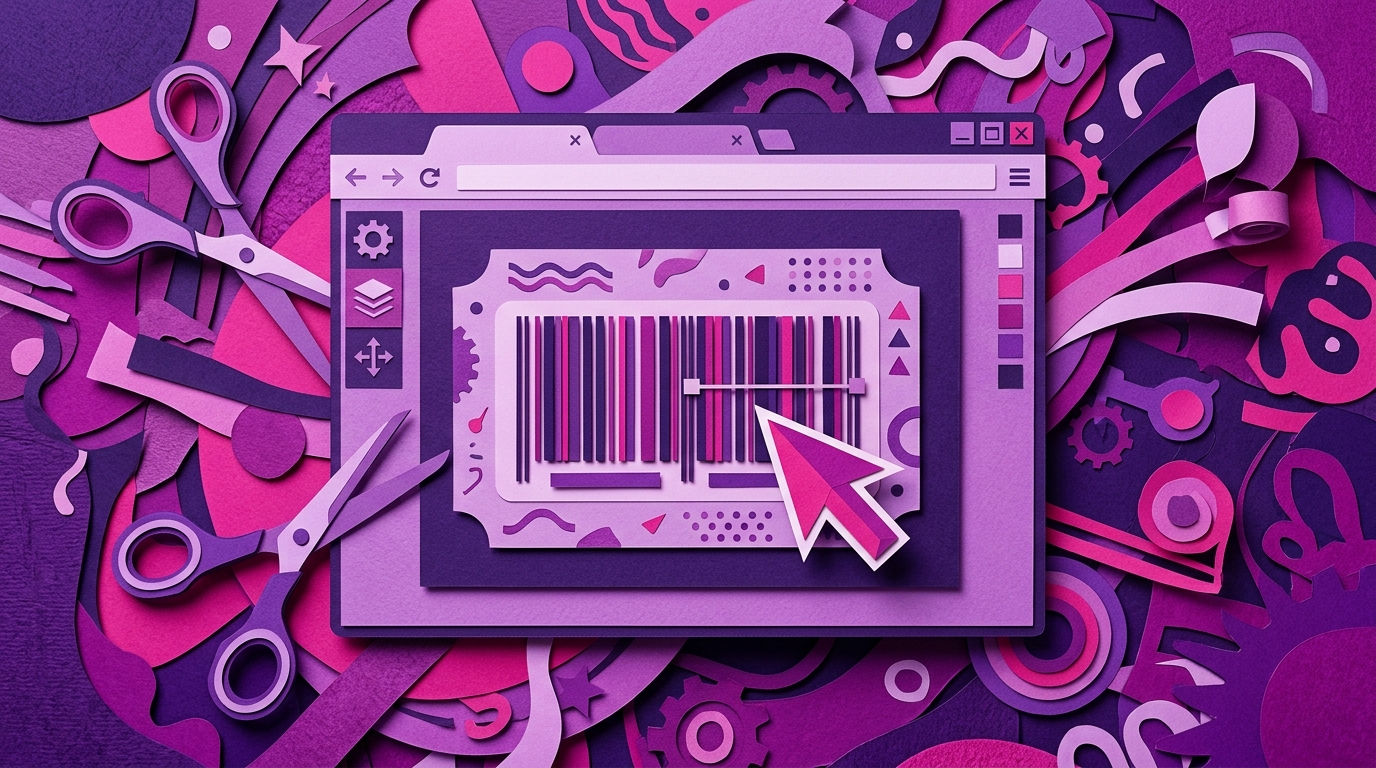
If you need a barcode label now—and you do not want to install label design software, configure drivers, or fight with template files—you can design and print professional labels entirely in a modern browser. This guide walks through the interactive workflow in the Next Generation Label Printing System from RSJ Software GmbH: create a label layout, add a barcode, bind it to data, preview it, and print or export it.
LPSNG is a browser-based label design and printing platform. Its core edition includes a web UI, label studio, job queue, and PDF generation. That means the workflow below works in the hosted cloud edition as well as in embedded or enterprise instances. While LPSNG also offers a web service API and the command-line LPSNG Player for automation, this article focuses on the managed browser path.
Prerequisites
Before you start, make sure you have:
- A modern web browser: Chrome, Firefox, Edge, or Safari.
- An RSJ LPSNG account. The cloud edition is a hosted multi-user environment; if your organization runs an embedded or enterprise instance, use that URL instead.
- A printer if you want physical labels. Thermal and standard printers are supported. If you do not have a printer yet, you can still design the label and export PDF or PNG.
- A basic idea of the barcode type you need. LPSNG supports a wide range of 1D and 2D barcode formats, including Code 128, EAN-13, QR code, and Data Matrix.
No local installation is required for the steps below.
Step-by-Step: Designing and Printing a Barcode Label in the Browser
Step 1: Log in to LPSNG and open the Label Studio
Open your Next Generation Label Printing System instance in the browser and sign in. In the cloud edition, navigate to the web UI and open the Label Studio. The label studio is part of the core functionality that ships in all editions, so the same interactive designer is available whether you are using the hosted cloud solution or an embedded instance on a local network.
Step 2: Create a new label layout and set dimensions
Create a new label layout. Set the page or label dimensions to match your physical label stock. For a shipping label, a common size is 4x6 inches:
- Unit: inches or millimetres, depending on your stock.
- Width: 4 in
- Height: 6 in
- Margins: 0 unless your stock requires a quiet zone.
Getting the layout dimensions right before adding fields prevents most alignment problems later.
Step 3: Add a barcode field
In the label studio, add a barcode element to the canvas. Choose the barcode type from the available formats. Select the type that matches your workflow:
- Code 128: common for shipping, warehouse, and product identification.
- EAN-13: common for retail point-of-sale labels.
- QR code: useful for mobile scanning and linking to web content.
- Data Matrix: common in manufacturing and electronics.
The barcode formats documentation covers the full list of supported 1D and 2D barcode formats. Do not guess between similar formats such as EAN-13 and UPC-A: the scanner will expect the exact symbology encoded in the label.
Step 4: Bind the barcode field to a data source
A barcode field can use a manually entered value, or it can be bound to a data source. This is where the browser workflow becomes useful for batch labeling.
LPSNG can use Excel files as data files and lookup files, and it offers a Google Sheets add-on. If you are working from a table, your source data might look like this:
sku,title,price
4412,USB-C Cable,12.99
4413,USB-C Hub,39.99
4414,HDMI Adapter,24.50
Map the barcode field to the column that contains the value to encode—usually a SKU, EAN, GTIN, or serial number. Then map text fields to the human-readable columns.
Step 5: Add text fields and style them
Add text elements next to or below the barcode for information such as product name, price, or location. In the label studio, you can format each field with fonts and styles. Keep the barcode area clean:
- Place text outside the barcode quiet zone.
- Use consistent font sizes for batch jobs.
- Avoid overlapping text and barcode areas when the data value length changes.
Step 6: Preview the label in the browser
Use the preview to check the rendered label before printing. Look at:
- Whether the barcode is crisp and not distorted.
- Whether the correct data appears in the barcode and text fields.
- Whether labels that use long values still fit inside the layout.
Browser preview is the fastest verification step and catches most design errors before label stock is wasted.
Step 7: Print directly or export as PDF/PNG
When the preview looks correct, choose how you want to produce the label:
- Print directly to a connected printer from the browser.
- Export PDF or PNG for printing later, sharing with a print service, or reviewing outside LPSNG.
- Submit batch jobs and monitor them in the job queue.
For high-volume or programmatic printing, the web service API can submit print jobs and render single labels as PDF or PNG. That is a separate integration path from this interactive, browser-based workflow.
Verification: How to Confirm Your Barcode Label Works
After previewing, verify the result before committing a full batch:
- Inspect the preview visually. Confirm the barcode is sharp, the quiet zones are present, and the human-readable text matches the encoded data.
- Scan the on-screen barcode with a phone scanner app. This is a quick way to check that the barcode encodes the expected value.
- Print a test label on plain paper. Before loading label stock, print one label on ordinary paper and scan the printed result. Check contrast, size, and quiet zones.
- Check the job queue for batch jobs. LPSNG includes a job queue. Confirm that submitted jobs complete successfully and that failed jobs, if any, show a clear reason.
Troubleshooting Common Issues
Barcode not scanning
- Increase contrast: use black bars on a white background.
- Preserve quiet zones: keep the area around the barcode clear.
- Check the barcode size: very small barcodes can be hard for scanners to read.
- Confirm the symbology: Code 128, EAN-13, QR code, and other formats are not interchangeable.
Label layout misaligned
- Verify the layout dimensions against the physical label stock.
- Check printer paper size and margin settings.
- Use the printer’s calibration function if available, especially for thermal label printers.
Data not populating
- Confirm the data source connection is active.
- Check that the field mapping points to the correct column or value.
- Preview a single record before printing the whole batch.
Browser printing issues
- Make sure the printer is installed and selected correctly in the browser.
- For direct, reliable printing from external systems, use LPSNG’s web service interface, which supports direct print and rendering labels as PDF or PNG.
FAQ
Can I create barcode labels without any coding?
Yes. RSJ LPSNG provides a visual label designer in the browser where you can add barcode fields, text, and other elements without writing code. You select the barcode type, enter or bind data, preview, and print or export.
What barcode formats does LPSNG support?
LPSNG supports a wide range of 1D and 2D barcode formats, including Code 128, EAN-13, QR code, Data Matrix, and more. The full list is available in the barcode formats documentation.
Can I use LPSNG to print to a thermal printer from the browser?
Yes. LPSNG can print to thermal printers. For browser printing, the printer must be configured in the browser. LPSNG also provides a cloud printing workaround for thermal printers and a web service API for direct print from integrated systems.
Is there an API to automate barcode label generation?
Yes. LPSNG provides a web service API that can submit print jobs, render single labels as PDF or PNG, and integrate with external systems. The LPSNG Player is also available as a standalone command-line print engine for package and data input with PDF, PNG, JSON, print, or ESL output.
Conclusion
You can design, preview, and produce professional barcode labels without installing anything locally. The Next Generation Label Printing System covers the full managed path: create a layout, add a barcode and text fields, bind data from Excel or Google Sheets, preview, and print or export.
For simple one-off labels, the visual label studio is enough. For batch jobs and automated workflows, LPSNG connects to the same platform through a web service API, Python field scripts, and integrations such as Google Sheets and Excel. If you want to evaluate the workflow, start with the cloud edition. If you need local or restricted deployment, the embedded edition runs the complete system on a single-board computer such as a Raspberry Pi.
Ready to try it? Open RSJ LPSNG in your browser, create a small label layout, and scan the preview with your phone before printing.
Related posts
- Automate Customer-Specific Labels in Your Fulfillment Process
- Using Python Scripts to Manipulate Label Fields in LPSNG
- Electronic Shelf Label Systems Compared: Features and Integration