
How to Print Barcoded Labels from Excel
You already have the data. Somewhere in your company there is a spreadsheet with SKUs, EANs, product names and prices — maintained by hand, exported from an ERP, or mailed over by a supplier. What you need is the other half: labels that come out of a printer with a scannable barcode on every one of them.
This guide walks through that exact task, end to end. You will take a spreadsheet, clean it so barcode values survive the trip, bind the columns to a label layout, and send print jobs — either from a web UI or from a script. The workflow uses Next Generation Label Printing System (LPSNG) as the managed label platform, so you never write printer control commands or position barcode modules by hand.
What You’ll Build and Why It Works
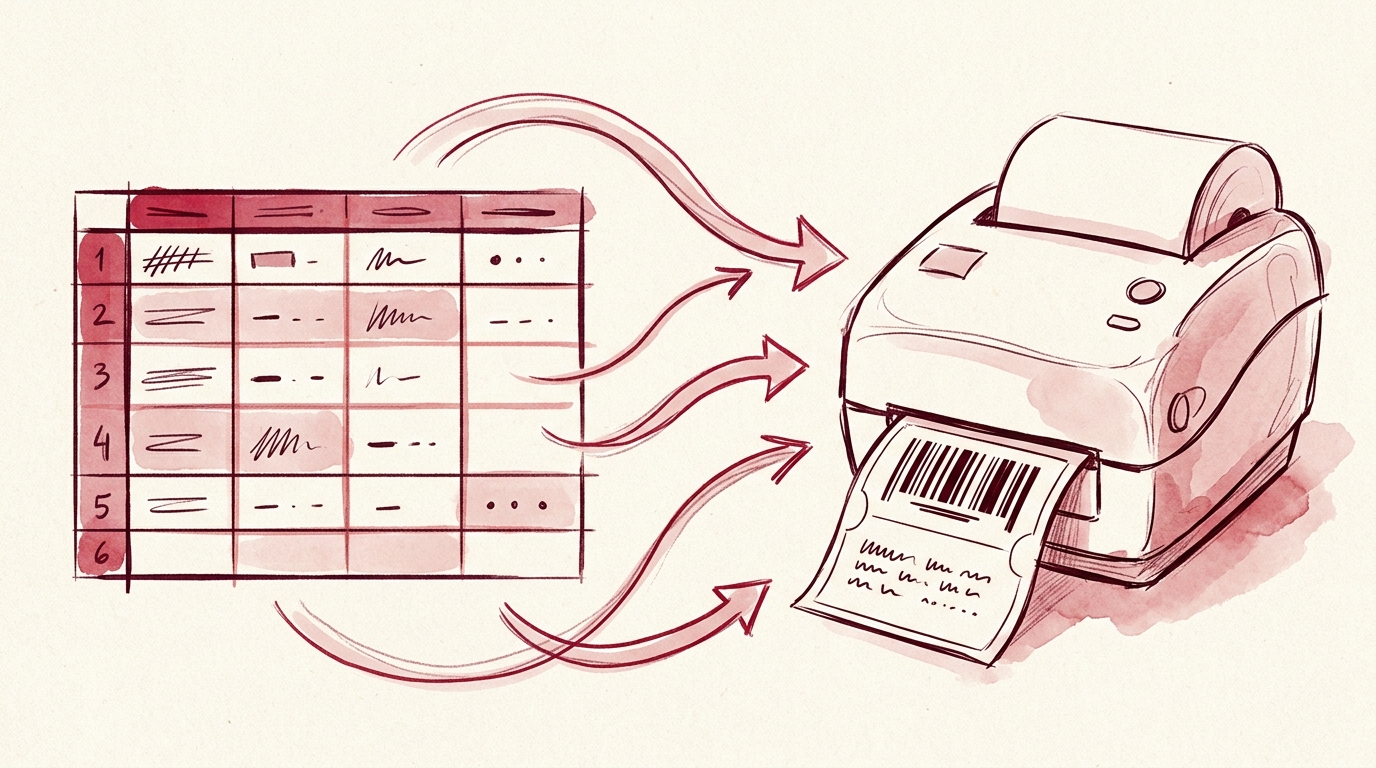
The goal: one row in Excel = one printed label with a working barcode.
The workflow splits cleanly into two halves:
- Excel supplies the data. Columns such as
sku,ean,product_name,price. Raw values only. - The label platform supplies the layout and the barcode rendering. A barcode field bound to
eanis rendered at print time using the symbology you selected.
That split is the reason this works so reliably. Barcodes are not images you paste into cells — they are generated from field values at print time. Your spreadsheet only needs the value, not the encoding. Change a digit in a cell and the next print job produces a different, valid barcode.
This is the managed path. The hard way — generating barcode bitmaps yourself and pushing raw commands at a thermal printer — is possible, but it bypasses the layout engine, the job queue, and any validation you’d otherwise get for free.
Prerequisites: Spreadsheet, Label Platform, and Access
Before you start, make sure you have:
- An Excel file with one header row and one row per label. Columns for everything you want printed: product name, price, barcode value, and anything else.
- An LPSNG account or an Embedded Edition installation, plus a label layout in the label studio — either one you created or an existing one you can edit.
- A barcode symbology decided in advance, chosen from the supported 1D and 2D formats documented on the barcode formats page. Pick the format your scanners and your retail or logistics partners actually expect.
- For automated printing: OAuth2 credentials for the web service API, or the LPSNG Player for command-line batch jobs.
- Optional reading: the Excel interface documentation, which covers using Excel files as both data files and lookup files.
If you’re still deciding whether a managed platform fits your setup at all, the comparison of cloud label printing vs desktop label software covers that ground.
Step 1: Prepare Your Excel Data for Label Printing
This step is boring and it is where most barcode failures originate.
Rules that matter:
- One header row, one data row per label. No merged cells, no blank rows in the middle, no totals rows.
- Store barcode values as text. Excel will happily turn
0049012345678into49012345678or4.90123E+12. Format the column as Text before pasting or importing, not after. - Keep a separate column for human-readable text if it should differ from the encoded value.
- No trailing spaces. They encode as characters.
A quick cleanup pass with openpyxl catches columns that were formatted as numbers:
from openpyxl import load_workbook

wb = load_workbook("items.xlsx")
ws = wb.active

# Column C holds the barcode value. Force text, strip whitespace.
for (cell,) in ws.iter_rows(min_row=2, min_col=3, max_col=3):
    if cell.value is None:
        continue
    cell.number_format = "@"
    cell.value = str(cell.value).strip()

wb.save("items_clean.xlsx")
Save the cleaned file where LPSNG can reach it: upload it through the web UI, or reference it through the Excel interface if your workflow pulls files from a shared location.
Step 2: Create or Open a Label Layout with a Barcode Field
Open your layout in the label studio.
- Add a barcode element to the canvas.
- Bind it to the Excel column that holds the barcode value — for example
ean. - Choose the symbology from the supported formats. A 1D format such as Code 128 or EAN, or a 2D format such as QR. The platform renders it at print time, so the element stays a live field rather than a static graphic.
- Add text fields for product name, price and any other column, mapping each one to its source column.
- Size and position the barcode with enough quiet zone around it. A barcode that touches a label edge is a barcode that scans badly.
Optionally, attach a Python field script to a field if the value needs transforming before it prints — formatting a price, padding an article number, deriving a check digit. The Python API lets a script block access and modify a field’s value before printing:
# Sketch only — see the Python API docs for the exact field object
# and entry point used by your LPSNG version.
raw = field.value
field.value = f"{float(raw):.2f} EUR"
If scripting is new to you, Label Design Software With Python Scripting: What to Expect sets expectations about what field scripts can and cannot do.
Step 3: Connect the Excel Data to the Layout
Now map the spreadsheet to the layout. With the Excel interface, the file becomes a data file: you map columns to label fields once, and the mapping is reusable for every future job against the same layout.
A mapping for a shelf label might look like this:
| Label field | Excel column | Type |
|---|---|---|
product_name |
A — Product |
Text |
price |
D — Price |
Text (formatted by field script) |
barcode |
C — EAN |
Barcode, EAN-13 |
article_no |
B — SKU |
Text |
Two things worth knowing at this stage:
- Lookup files. If your layout needs values that aren’t in the row itself, configure a second Excel file as a lookup file, keyed on a column such as the SKU. Fields are then filled from the key column instead of from the row.
- Order-specific labeling. The same data mapping works for customer- and product-specific labels in fulfillment scenarios — the row just carries the customer and order columns as well.
Before printing anything, preview three or four records in the label studio. Check that the barcode renders, that the value under it matches the human-readable text, and that long product names don’t collide with the barcode.
Step 4: Print or Render the Labels
Three paths, depending on how much automation you want.
Manual path — web UI. Select the Excel data source, pick the layout, and send the job to the job queue. From there it renders to PDF or goes straight to a printer.
Automated path — web service API. After completing the OAuth2 registration flow, your system holds a token and can submit print jobs directly. The script below is illustrative; the exact endpoint paths and payload fields live in the web service documentation.
export LPSNG_API_BASE="https://<your-lpsng-host>"

curl -sS -X POST "$LPSNG_API_BASE/<print-job-endpoint>" \
  -H "Authorization: Bearer $LPSNG_ACCESS_TOKEN" \
  -H "Content-Type: application/json" \
  -d @job.json
{
  "layout": "retail-shelf-label",
  "dataFile": "items_clean.xlsx",
  "output": "pdf",
  "copies": 1
}
The API can also render a single label to PDF or PNG, and can trigger a direct print — useful when you want a preview in a web app before committing to paper. For the rendering side in detail, see How to Render a Label to PDF or PNG Through a Label Printing API.
Batch path — LPSNG Player. The Player is a standalone command-line print engine: package plus data in, PDF, PNG, JSON, print output or ESL updates out. Ideal for a nightly job on a shop-floor machine.
# Flags are illustrative — confirm the current syntax in the Player docs.
lpsng-player \
  --package ./retail-shelf-label.lpsng \
  --data ./items_clean.xlsx \
  --out ./out \
  --format pdf
Same command shape, different output, if the destination is a shelf rather than a sheet of paper — the Player can emit ESL updates too. That path is covered in A Vendor-Neutral JSON Interface for ESL Updates.
Step 5: Verify the Printed Barcodes
Do not ship a batch you haven’t scanned.
- Scan a sample with a real scanner, not a phone camera app. Aim for first, middle and last labels of the run, plus any row where the value looks unusual.
- Check leading zeros.
0049...must come back as0049.... If the scanner reports a shorter value, the Excel column was numeric somewhere upstream. - Check special characters. Hyphens, slashes and umlauts are common casualties of a bad import.
- Compare human-readable text against the encoded value on each sampled label. They should tell the same story.
- Look at the print itself. Low contrast, a clipped quiet zone or a barcode squeezed by a shifted layout will fail in the field even though it looked fine on screen.
For a systematic pre-print check rather than a post-print sample, How to Check Barcodes Before Printing Labels goes deeper.
Troubleshooting Common Issues
The barcode won’t scan. Usually a symbology mismatch, or the value contains characters the chosen format cannot encode. Switch format, or clean the data. Verify the scanner supports the format you selected.
Leading zeros are gone. The Excel column was numeric. Reformat as Text, re-enter or re-import the values, and re-upload. Fixing it in the label platform is not possible — the digits are already lost.
Labels print with no barcode at all. The barcode field isn’t bound to the correct column, or that column is empty for the row in question. Open the preview and step through records rather than checking only the first one.
The print job fails. For API jobs, check that the OAuth2 token is still valid and that the request carries a data source the platform can resolve. For Player jobs, confirm the package is present and the data file is included in the invocation.
The layout shifts on a thermal printer. Verify the printer is supported, and check the label size configured in the layout against the physical media. If your setup routes through Google Cloud Print, the cloud printing workaround addresses the known limitations.
FAQ
Do I need to install a printer driver to print barcoded labels from Excel? No. With Next Generation Label Printing System you upload or reference the Excel file and send a print job through the web UI or web service API; the platform generates the PDF or sends the job to the printer. The LPSNG Player can also produce PDF, PNG, or direct print output from a package and data file.
Can I use the same Excel file for both label data and lookup values? Yes. The Excel interface supports using Excel files as data files and lookup files. You can map columns to label fields and also configure a lookup file so fields are filled from a key column.
Which barcode formats can LPSNG generate from Excel data? LPSNG supports a range of 1D and 2D barcode formats. The exact list is documented on the barcode formats page; you choose the symbology when you add a barcode field to the label layout.
Can I automate printing from Excel without opening the web UI? Yes. You can submit print jobs through the web service API using OAuth2 authentication, or use the LPSNG Player as a standalone command-line print engine that takes a package and data file and outputs PDF, PNG, JSON, print, or ESL updates.
Conclusion: From Spreadsheet to Scannable Label
The recap is short: prepare the Excel file so values survive as text, bind a barcode field to the right column in the layout, map the columns once, print through the UI, the API or the Player, then scan a sample before the batch leaves the building.
The structural win is that barcode rendering and job management happen inside the platform. You never compute check digits yourself, never write printer commands, and never wonder whether the element on the canvas will encode the same value the cell contains.
Next steps, depending on where your workflow goes from here: render labels via the API for embedded previews, read up on Python field scripting for value transformation, or move to ESL updates if the shelf is digital. Not sure which edition fits? Start with the use cases overview — every edition includes the web UI, label studio, job queue, PDF generation and web service interface.
Related posts
- Cloud Label Printing vs Desktop Label Software: Key Differences
- A Vendor-Neutral JSON Interface for ESL Updates
- How to Check Barcodes Before Printing Labels