
How to Create Barcode Labels in Google Sheets with LPSNG
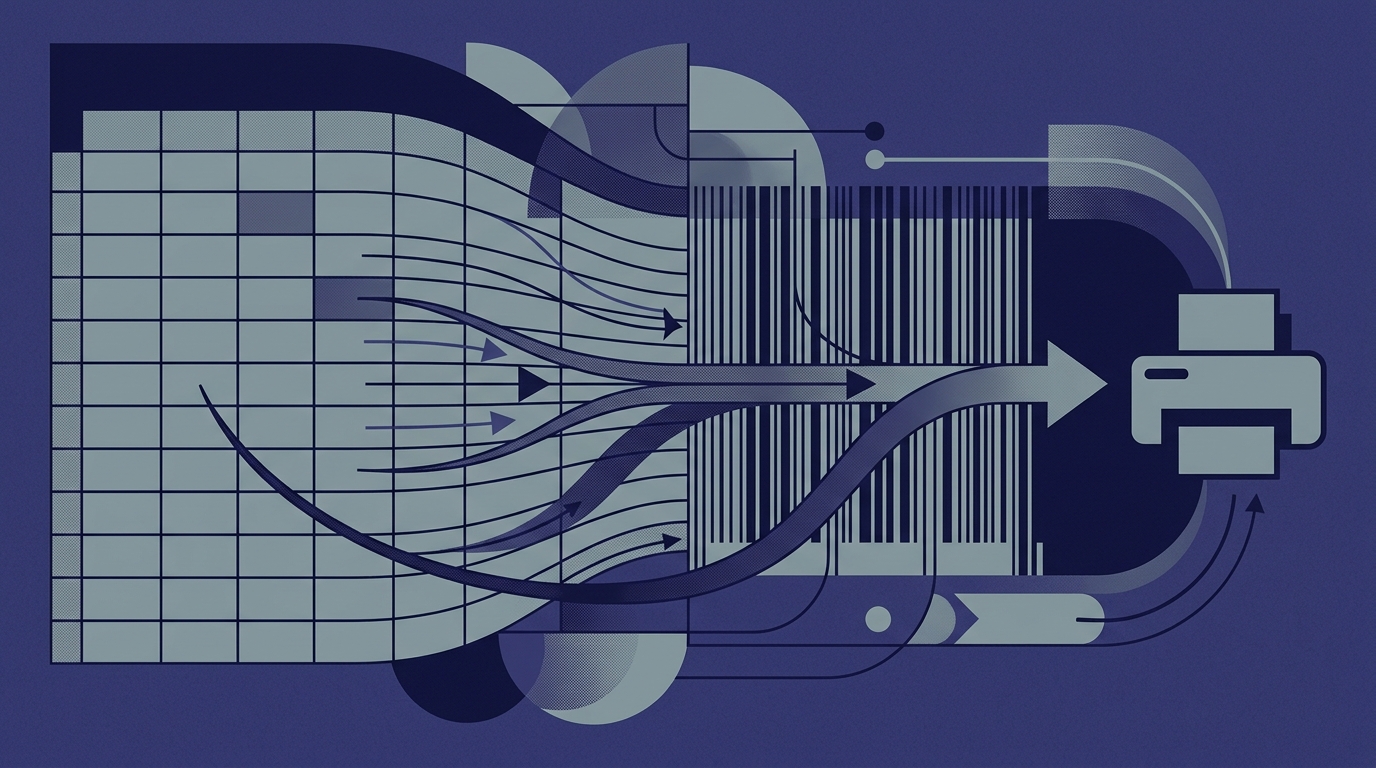
You have product data in Google Sheets and need professional barcode labels — without copying values into a separate design tool, writing scripts, or manually maintaining two systems. This guide walks through the managed LPSNG workflow: prepare a sheet, design a label once, bind columns to fields, and generate print-ready barcode labels from your data.
LPSNG (the Next Generation Label Printing System) is a managed label design and printing platform by RSJ Software GmbH. Its Google Sheets add-on lets you create label layouts and print labels directly from the spreadsheet. By the end of this article, you will have a reusable label layout, automatic barcode rendering from a data column, and a batch of labels you can print or export as PDF.
The hard way would be interacting with the LPSNG web service API or the command-line player directly. This guide focuses on the managed Google Sheets workflow, where the add-on handles layout rendering, barcode generation, and print output behind the scenes.
Prerequisites for Using LPSNG with Google Sheets
Before you start, make sure you have:
- A Google account with access to Google Sheets.
- The LPSNG Google Sheets add-on installed from the Google Workspace Marketplace. See the LPSNG Google Sheets documentation for installation details.
- A spreadsheet with structured data — ideally one column per value you want on the label.
- Basic familiarity with organizing data in columns and rows.
- Optional: a printer connected to your system if you plan to print physical labels in this session.
You do not need a separate LPSNG installation for this workflow. The add-on runs inside Google Sheets and keeps the label design linked to your data columns.
Step-by-Step: Design and Print Barcode Labels from Your Sheet
Step 1: Prepare your data in Google Sheets
Open Google Sheets and create a table with clear column headers. For a typical product label, you might use three columns:
SKU,Product Name,Barcode Value
1001,Reusable Cup,4001234567890
1002,Notebook,4001234567891
1003,Pen Set,4001234567892
Rules that make mapping easier:
- Keep the header row unique and human-readable.
- Put the value that should be encoded in the barcode into its own column, such as
Barcode Value. - Avoid blank cells in required fields for any row you intend to print.
- If your barcode content includes leading zeros, format the column as text so Google Sheets does not drop them.
If you already have product data, add a dedicated barcode content column rather than mixing multiple values into one cell.
Step 2: Open the LPSNG add-on and create a new label layout
In Google Sheets, open the Extensions menu and launch the LPSNG add-on. Select the option to create a new label layout.
Think of this layout as a template. Once you bind it to your columns, the same design can be reused whenever the sheet data changes.
Step 3: Design the label in the visual editor
Use the label editor to build the label:
- Set the label dimensions to match your label stock or thermal label size.
- Add a barcode field. Choose a symbology from the supported 1D and 2D barcode formats that matches the values in your data. For example, use EAN-13 for retail barcodes or Code 128 for internal SKU labels. See the Barcode Formats documentation for the full list.
- Add text fields for human-readable values such as product name and SKU.
- Adjust font size, spacing, and field positions so the data fits within the label boundaries.
Keep the barcode field large enough to preserve clear bar spacing. Crowded barcodes are more likely to fail scanning even when the encoded value is correct.
Step 4: Bind fields to the correct columns
The key step is field mapping. In the add-on, bind:
Barcode Value→ barcode fieldProduct Name→ product name text fieldSKU→ SKU text field
This mapping tells LPSNG where to pull each row’s value when generating labels. Double-check that the barcode field is bound to the column containing the machine-readable content, not the product name or another text field.
Step 5: Preview a few rows before generating everything
Select a small subset of rows — two or three is enough — and open the preview. Confirm that:
- The barcode visual updates for each selected row.
- Text fields show the correct values.
- No content is clipped at the label edges.
Previewing a few rows catches mapping errors before you generate hundreds of labels.
Step 6: Generate the full batch and print or export
Once the preview looks correct, generate the full batch from all rows in your sheet. From the add-on, you can:
- Print directly to your configured printer.
- Export the generated labels as PDF for later printing or archival.
Because the add-on renders labels from your live sheet data, you do not need to export and re-import values into another tool.
Step 7: Save the layout for future updates
Save the label layout so you can reuse it. The next time your data changes — new products, updated barcode values, or additional rows — reopen the layout, verify the mapping, and generate a fresh batch.
This is where the managed workflow saves the most time: the design and field binding stay consistent, while the data drives the output.
Verifying Your Barcode Labels
Visual inspection alone is not enough for barcode labels. Run these checks before signing off on a batch:
- Use the add-on preview. Confirm that barcode fields and text fields are rendered clearly and that no rows are missing.
- Scan the label. Use a smartphone barcode app or a dedicated barcode scanner to read the printed label. The scanned value must match the value in the original spreadsheet cell exactly.
- Check row coverage. Confirm that the generated output includes every expected row, especially if you filtered or selected only part of the sheet.
- Test print at full size. Do not rely on scaled-down screen previews for final quality. A label that looks fine on screen can lose contrast or quiet zone when printed.
For high-volume or automated print pipelines, the LPSNG Player can generate PDF/PNG output from package and data input, which is useful for automated verification. For a deeper look at output checks, see How to Verify Label Print Output: Ensuring Accuracy Every Time.
Troubleshooting Common Issues
Barcode not scanning
Check contrast: use black bars on a white background. Check the quiet zone: leave blank space around the barcode as required by the symbology. Also confirm that the barcode type you selected supports the character set and length of your data. Review the supported barcode formats if you are unsure.
Data not appearing on labels
Go back to the field mapping. A field may still be unbound or bound to the wrong column. Verify that the sheet has no empty cells in rows you expected to print.
Add-on not loading or missing from Extensions
Make sure the LPSNG Google Sheets add-on is installed for your Google account. When prompted, grant the permissions required for it to access the active spreadsheet. If it is installed but not visible, refresh the Google Sheets page and check the Extensions menu again.
Print alignment issues
Adjust the label dimensions inside the add-on to match your actual label stock. Also check the printer’s paper size and page settings — small mismatches can shift every label on the sheet.
FAQ
Q: Can I use LPSNG with Google Sheets for free?
A: The LPSNG Google Sheets add-on is available, but specific pricing or free tier details are not provided in the product information. Check the official LPSNG website or Google Workspace Marketplace listing for current terms.
Q: What barcode formats does LPSNG support in Google Sheets?
A: LPSNG supports a wide range of 1D and 2D barcode formats. Refer to the Barcode Formats documentation for the complete list.
Q: Can I automate label printing from Google Sheets without manual steps?
A: Yes, LPSNG offers automation through its web service API and the LPSNG Player. For Google Sheets specifically, the add-on provides batch generation. For full automation, consider integrating with the API or using the Player. See How to Automate Label Printing from Excel Data with LPSNG for concepts that also apply to Sheets-based workflows.
Q: Is LPSNG only for Google Sheets, or can I use it with other data sources?
A: LPSNG integrates with multiple data sources including Excel, Google Sheets, and external systems via web services. It also supports electronic shelf labels and cloud printing.
Conclusion: Streamline Barcode Label Creation with LPSNG
The managed Google Sheets workflow removes the repetitive parts of barcode label creation. Your data stays in the spreadsheet, the label design stays in LPSNG, and the add-on connects the two. When a product name or barcode value changes, you update the sheet and regenerate — no manual copy-paste, no separate label file to maintain.
If you already work with Excel as well, the same approach applies there. Check out How to Automate Label Printing from Excel Data with LPSNG to see how the Next Generation Label Printing System handles spreadsheet-driven printing across data sources.
Try the LPSNG Google Sheets add-on for your next labeling task. Set up one reusable layout, map your barcode column, and let the add-on handle the rest.
Related posts
- How to Automate Label Printing from Excel Data with LPSNG
- Label Printing Automation: Best Practices for 2024
- How to Verify Label Print Output: Ensuring Accuracy Every Time