How to Design Barcode Labels with a Web-Based Editor
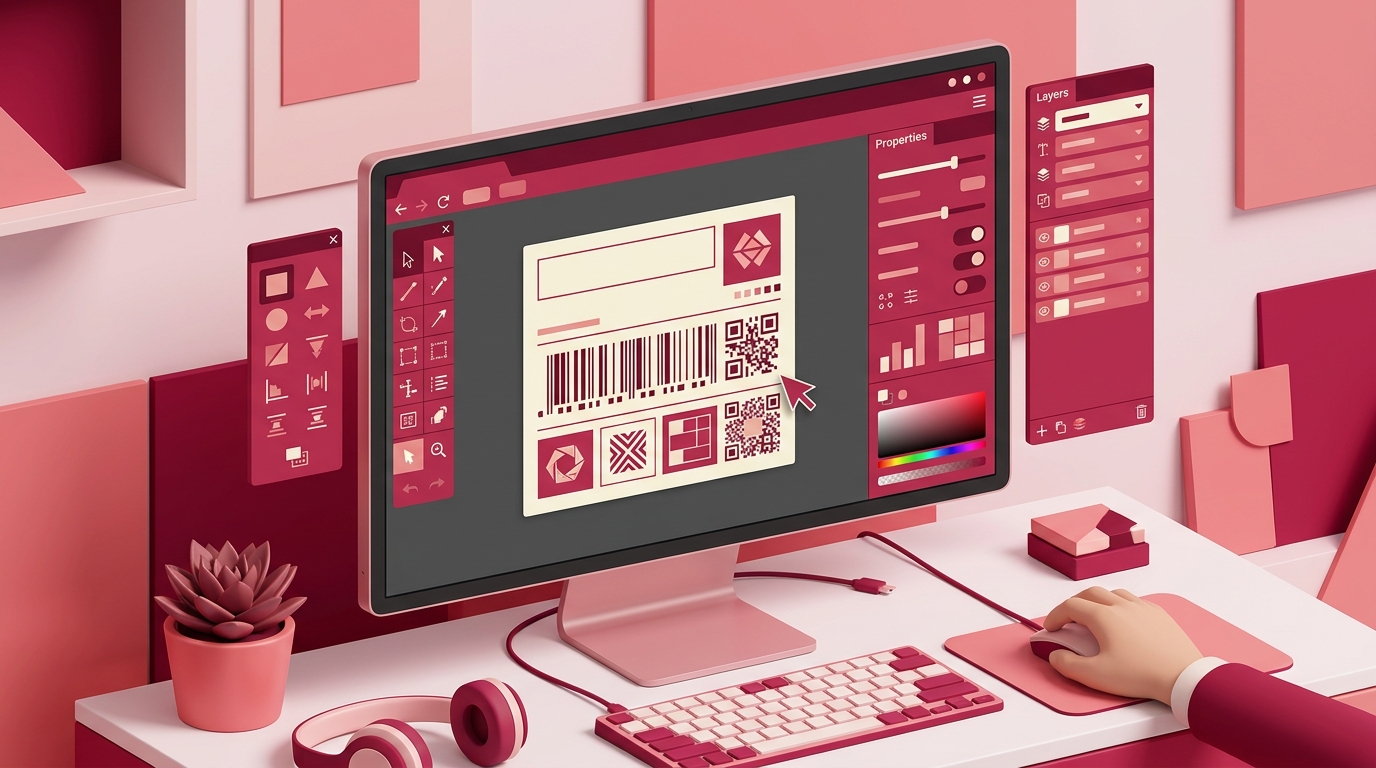
You need a label that scans correctly, carries the right product data, and still looks clean enough for retail shelves or a shipping line. This guide walks through designing exactly that label in the Next Generation Label Printing System, using its browser-based Label Studio. By the end, you will have a label layout with a barcode, text fields, and a logo or graphic, ready to print or export as PDF/PNG.
No local installation is required. The editor runs in your browser, and the label system supports common 1D and 2D barcode formats for retail, logistics, and manufacturing use cases.
Prerequisites
Before you start, make sure you have:
- Access to LPSNG: either the cloud edition at
https://lpsng.rsj.deor an embedded edition running on a local device. - A modern web browser: Chrome, Firefox, Edge, or Safari with JavaScript enabled.
- Basic label element knowledge: you know what a barcode, text field, image, and shape are on a label.
- Optional sample data: a product name, SKU, or price to test how fields populate.
You do not need a local printer to design the label. You can export a PDF or PNG and print later.
Step-by-Step: Creating a Barcode Label in LPSNG
Step 1: Open the Label Studio
Log in to LPSNG. From the dashboard, open the Label Studio. This is the visual editor where you create and manage label layouts.
Step 2: Create a New Label Layout
Start a new layout. You can either choose an existing template or begin with a blank canvas.
Set the label dimensions before adding elements. Define:
- Width and height of the label
- Margins
- Orientation
Matching these values to your label stock avoids resizing problems later.
Step 3: Add a Barcode Field
Add a barcode field to the canvas.
Select the barcode type that matches your scanning environment. Common choices include:
- Code 128 for logistics and warehouse labels
- EAN-13 for retail product barcodes
- QR Code for mobile scanning or marketing labels
- Data Matrix for small components or industrial markings
Configure the barcode properties:
- Physical size
- Rotation
- Whether to show human-readable text below the code
Keep the quiet zone around the barcode intact. The editor lets you control placement, but the final print must preserve enough white space for scanners to read the code.
Step 4: Add Text Fields for Product Data
Add text fields for the product name, price, SKU, or other label data.
You can enter values manually, or you can link fields to a data source such as a CSV file, Excel file, or Google Sheet. For a simple CSV-driven label, your data might look like this:
sku,product_name,price
4001234567890,Example Coffee 250g,12.49
4001234567891,Example Coffee 500g,19.99
Map each label field to the matching column. When you print a batch, LPSNG substitutions replace the placeholders with values from the data source.
Step 5: Add Images or Logos
If the label needs a company logo, product image, or compliance mark, add an image element.
Upload the image directly or reference it from a URL. Keep the image resolution appropriate for the final print size. A low-resolution logo will look acceptable on screen but may print blurry.
Step 6: Arrange and Preview the Label
Use the editor’s alignment tools, grid, and snapping options to position the barcode, text, and image elements consistently.
Check the preview regularly. Look for:
- Overlapping elements
- Text that is too close to the label edge
- Barcodes that may be too small for the target scanner
Step 7: Save, Test, and Print or Export
Save the layout.
Before printing, test it with sample data records to confirm that fields populate correctly and the barcode changes value for each record.
When the design is ready, print directly from the browser to a connected thermal or standard printer, or export the label as a PDF or PNG file for later use.
Verifying Your Label Design
A label that looks right on screen is not always scanner-ready. Verify the design before committing to a full print run.
- Use the built-in preview at actual size to check layout and spacing.
- Print a test label or export a PDF/PNG, then scan the barcode with a smartphone app or your production scanner.
- Test with multiple data records if you use data binding. Confirm that long product names, empty fields, and special characters do not break the layout.
- Check the barcode symbology against your requirements. For retail labels, make sure the format and data structure meet GS1 conventions if applicable.
A quick verification step prevents reprinting an entire batch.
Troubleshooting Common Issues
Barcode will not scan
- Confirm you selected the correct symbology for the scanner.
- Check that the quiet zones around the barcode are not cut off.
- Increase contrast: use black bars on a white or very light background.
- Try increasing the module width or overall barcode size.
Text or elements are misaligned
- Use the alignment and snapping tools to position elements precisely.
- Double-check that label dimensions match the physical label stock.
- Compare the printer’s configured paper size with the design dimensions.
Data does not populate correctly
- Verify the connection to the data source, such as CSV, Excel, or Google Sheets.
- Check the field mapping between label elements and data columns.
- Look for special characters that may need encoding or escaping.
Print quality is poor
- Adjust printer DPI settings if the print is grainy or blurred.
- Use the correct label stock for the printer type.
- Clean the printhead if barcodes smudge or fade.
Editor behaves unexpectedly
- Try a different browser.
- Clear the browser cache and reload the Label Studio.
Advanced Tips and Integrations
Once you have a working label, you can extend the workflow without rebuilding the design.
- Python field scripts: LPSNG supports Python script blocks attached to label fields. These can modify field values before printing, such as formatting dates or choosing values conditionally. The general pattern is to attach a script block to a field and transform its value:
# Example field script attached to a label field.
# Check the Python API documentation for the exact entry point.
def format_label_date(raw_date):
    return raw_date.replace("-", ".")
- Web Service API: for high-volume or integrated workflows, the LPSNG Web Service API can submit print jobs, render single labels as PDF or PNG, and handle authentication via OAuth2. If you are new to this, see What Is a Label Printing API? A Beginner’s Guide.
- Google Sheets and Excel: use the Google Sheets Add-on or Excel files as data sources for batch printing. This is useful when product data already lives in a spreadsheet.
- Electronic Shelf Labels: if the same product data needs to appear on physical labels and digital shelf displays, LPSNG provides a cross-media ESL solution. See ESL Binding API Tutorial: Connect Tags to Items for an integration path.
For a more detailed look at dynamic field logic, see Using Python Scripts to Manipulate Label Fields in LPSNG.
FAQ
What barcode formats does LPSNG support?
LPSNG supports a wide range of 1D and 2D barcode formats, including Code 128, EAN-13, QR Code, Data Matrix, and more. The full list is available in the barcode formats documentation.
Can I design labels without any coding?
Yes. The web-based Label Studio provides a visual drag-and-drop interface for designing labels with barcodes, text, images, and shapes. No coding is required for basic label design.
How do I print labels directly from the web editor?
After designing your label, you can print directly from the browser to a connected thermal or standard printer. LPSNG also supports generating PDF or PNG files for later printing or sharing.
Is it possible to use my own data source, such as Excel or Google Sheets, with the editor?
Yes. LPSNG integrates with Excel files and Google Sheets. You can link label fields to columns in your spreadsheet, enabling batch printing with dynamic data.
Conclusion
Designing a barcode label in the browser does not require a desktop design tool or a complicated rendering pipeline. With the Next Generation Label Printing System’s Label Studio, you create a layout, add a barcode and text fields, bind data, preview the result, and export or print it.
Start with the cloud edition at https://lpsng.rsj.de, or explore the embedded edition if you prefer a local deployment. For multi-user teams or multi-device environments, LPSNG also offers enterprise features.
Further documentation:
Related posts
- ESL Binding API Tutorial: Connect Tags to Items
- What Is a Label Printing API? A Beginner’s Guide
- How to Create Barcode Labels in Your Browser: Step-by-Step
- Automate Customer-Specific Labels in Your Fulfillment Process
- Using Python Scripts to Manipulate Label Fields in LPSNG
- Electronic Shelf Label Systems Compared: Features and Integration