
Cloud Printing for Thermal Printers: A Workaround Guide
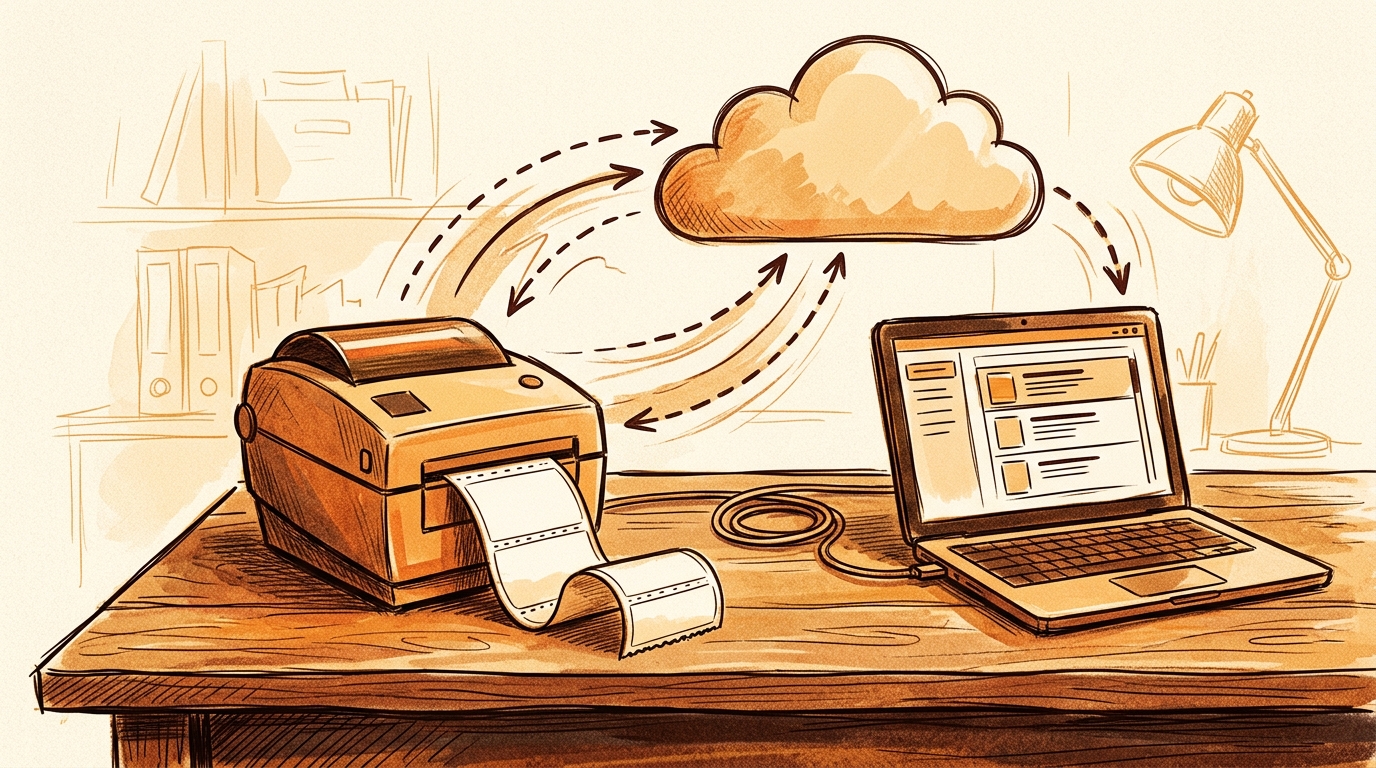
Thermal label printers are usually USB, serial, or raw network devices. They do not arrive with a managed cloud print queue, and “print from anywhere” quickly turns into a mess of VPNs, port forwarding, or custom driver hacks. This guide shows you a practical thermal printer cloud printing solution using RSJ LPSNG: a small local bridge receives label jobs from the cloud edition and prints them on the thermal printer that is already sitting on your desk or packing bench.
By the end of this walkthrough you will have:
- Created or imported a label layout in LPSNG.
- Installed the LPSNG Player on a local machine connected to the printer.
- Connected that player to your LPSNG cloud account using OAuth2.
- Sent a test label from the web interface or web service API.
- Confirmed that the label renders correctly on the thermal printer.
You could script raw printer languages and tunnel them to a remote device yourself, but that is the hard way and it breaks every time a driver or label format changes. LPSNG handles the device layer and print queue for you.
Prerequisites
Before you start, make sure you have:
- A thermal printer supported by the LPSNG Player. Check the official LPSNG documentation for compatible models and driver notes.
- An RSJ LPSNG account in the cloud edition, or access to an LPSNG instance that can reach your player.
- A local machine that can stay online and is connected to the thermal printer. A desktop PC, mini PC, or single-board computer such as a Raspberry Pi works well.
- Basic familiarity with label layouts and data fields. If you are new to the editor, see the internal guide on designing barcode labels with a web-based editor.
No public IP address or inbound port forwarding on the printer network is required. The LPSNG Player makes an outbound connection to the cloud.
Step-by-Step: Setting Up Cloud Printing with RSJ LPSNG
Step 1: Create a label layout in the LPSNG label studio
Open the LPSNG web interface and create a label in the browser-based label studio. You can also import an existing layout if you already have one.
Define the fields that the cloud will fill in later: order number, product name, shipping barcode, quantity, or whatever your label requires. LPSNG supports the common 1D and 2D barcode formats, so use the format your warehouse or carrier expects.
A typical print job only needs the layout name and the dynamic field values:
{
  "layout": "shipping_4x6",
  "data": {
    "order_no": "ORD-1001",
    "ean": "4006381333931",
    "product": "Acme Widget"
  }
}
The exact field names depend on the layout you create. Keep them consistent because the cloud, Google Sheets, Excel, or an external system will reference them later.
Step 2: Configure the thermal printer in LPSNG
In the LPSNG printer settings, select the thermal printer model that is connected to your bridge device. Choose the connection type that matches your physical setup: USB, network, or the interface supported by your printer model.
The key point is that LPSNG does not need to reach the printer directly. The LPSNG Player on the local machine handles printer communication. The cloud configuration only needs to know which printer definition a job should use.
Step 3: Install and configure the LPSNG Player on the bridge machine
The LPSNG Player is the standalone command-line print engine that does the actual work on the local side. It accepts a label package and job data, then produces print output.
Install the player on the computer or single-board device that is physically connected to the thermal printer. The player is designed to run as a background service, so it should be available even when nobody is logged into the desktop.
Conceptually, the player works like this:
label package + print data → LPSNG Player → print / PDF / PNG / JSON / ESL output
For cloud printing, the relevant output is print: the player sends the rendered label directly to the configured thermal printer.
Step 4: Connect the LPSNG Player to your LPSNG cloud account
LPSNG uses a simplified OAuth2 registration protocol to connect external systems with a single URL. The player generates a one-time registration URL.
Open that URL in a browser, sign in to your LPSNG account, and approve the connection. The player then stores the OAuth2 credentials and can receive jobs from your LPSNG cloud account without you manually copying API keys back and forth.
The flow is intentionally short:
start player → open registration URL → sign in to LPSNG → approve access
After approval, the player is listed in your LPSNG environment and is ready to accept work.
Step 5: Submit a print job from the cloud
You can now submit a print job from the LPSNG web interface, or use the web service API if you are integrating from an external application.
A web service submit call has the same logical shape as the web interface: choose a layout, supply the data fields, and tell LPSNG to print it. The following example shows the idea using curl; inspect the official Webservice Interface documentation for the exact endpoint and payload names used by your LPSNG instance:
curl -X POST "https://<your-lpsng-host>/webservice/print" \
  -H "Authorization: Bearer $LPSNG_TOKEN" \
  -H "Content-Type: application/json" \
  -d '{
    "layout": "shipping_4x6",
    "data": {
      "order_no": "ORD-1001",
      "ean": "4006381333931",
      "product": "Acme Widget"
    },
    "output": "print"
  }'
If you are not integrating programmatically yet, use the LPSNG cloud dashboard to select the layout and send the same test job manually.
Step 6: The LPSNG Player receives the job and prints it
On the bridge machine, the LPSNG Player picks up the queued job, renders the label layout with the submitted data, and sends the result to the connected thermal printer.
This is the workaround: the cloud does not talk to the printer as if it were a network print device. Instead, the player acts as the managed bridge between the cloud queue and the physical printer.
Step 7: Optional — print from Google Sheets or Excel
For operational teams that live in spreadsheets, you can extend the same cloud printing path with the Google Sheets Add-on or the Excel Interface.
The add-on lets you create label layouts and print labels directly from Google Sheets. Excel files can also be used as data files and lookup files. This means a packing station can update a cell, click print, and have the label come out on the thermal printer through the same LPSNG Player connection.
If you are integrating a larger web application instead, see How to Automate Label Printing from Your Web Application.
Verifying the Setup
Run through these checks before relying on the setup in production:
- Send a test label from the LPSNG cloud dashboard. Use the exact layout and data fields you plan to use in production.
- Check the LPSNG Player status on the bridge machine. Confirm that the player service is running and that it reports a successful job after the test print.
- Inspect the physical printout. Verify that text alignment, label size, and barcode readability match the design. A barcode that looks acceptable on screen can still fail at the print head if the DPI or label dimensions are wrong. See How to Verify Barcode Label Accuracy Before Printing.
- Test from a remote network. Turn off Wi-Fi on a mobile device and submit a small job over mobile data. The print should arrive through the cloud without any special network configuration on the printer side.
Troubleshooting Common Issues
Printer not detected by LPSNG Player
Check the physical connection first: USB cable, printer power, and printer online state. On Linux bridge devices, the user running the player may need permission to access the USB device. For network printers, confirm that the player can reach the printer IP address and port.
OAuth2 authentication errors
Verify that you opened the correct registration URL and completed the browser approval step. If the player cannot refresh its token later, re-register the connection from the player and sign in again.
Print jobs stuck in the queue
The LPSNG Player must be running and connected to the internet. If the bridge machine is asleep, offline, or blocked by a firewall, the cloud queue will hold the job. Keep the player on a wired connection or a reliable Wi-Fi network at packing stations.
Label formatting issues
Most formatting problems come from a mismatch between the label layout and the physical media: wrong label width, wrong height, or incorrect DPI. Review the printer settings in LPSNG and confirm that the selected label size matches the stock loaded in the thermal printer.
Cloud printing workaround limitations
The player must remain online for cloud jobs to flow. If you want a dedicated, turnkey bridge device instead of a general-purpose computer, consider the LPSNG Embedded Edition, which runs the complete system on a single-board computer.
FAQ
Q: Can I use any thermal printer with RSJ LPSNG cloud printing?
RSJ LPSNG supports a wide range of thermal printers. Check the official documentation for a list of compatible models and drivers. The LPSNG Player handles communication with the printer, so as long as the printer is supported by the player, it can be used for cloud printing.
Q: Do I need a dedicated computer to enable cloud printing for my thermal printer?
Yes. You need a device such as a computer, Raspberry Pi, or other single-board computer that is connected to the thermal printer and runs the LPSNG Player. This device acts as the bridge between the cloud and the printer. For a turnkey solution, RSJ LPSNG offers an Embedded Edition that runs on a single-board computer.
Q: Is the cloud printing workaround secure?
Yes. RSJ LPSNG uses OAuth2 authentication to securely connect the LPSNG Player to your cloud account. Communication between the cloud and the player is encrypted, and you can further restrict network access with firewall rules and secure credentials.
Q: Can I print labels from my mobile device using this workaround?
Yes. As long as your mobile device can reach the RSJ LPSNG cloud interface through a web browser or API, you can submit print jobs. The LPSNG Player receives the jobs and prints them on the connected thermal printer.
Conclusion
Cloud printing for thermal printers does not require ripping out your existing label hardware. RSJ LPSNG bridges the gap with the LPSNG Player: the cloud manages the layout, data, and job queue, while the player renders and prints on the local thermal printer.
The practical result is a thermal printer cloud printing solution that works from a browser, a mobile device, Google Sheets, Excel, or your own web service integration. You keep the thermal printer you already use, add a small always-on bridge device, and gain a managed print path without raw printer scripting or fragile port forwarding.
The Next Generation Label Printing System provides the managed cloud workflow around this player-based architecture. Start with the cloud edition for a quick pilot, or look at the enterprise features if you need multi-user, multi-region, multi-device control across warehouses and packing lines.
Related posts
- How to Verify Barcode Label Accuracy Before Printing
- Label Printing for Order Fulfillment: Streamlining Your Process
- How to Automate Label Printing from Your Web Application