
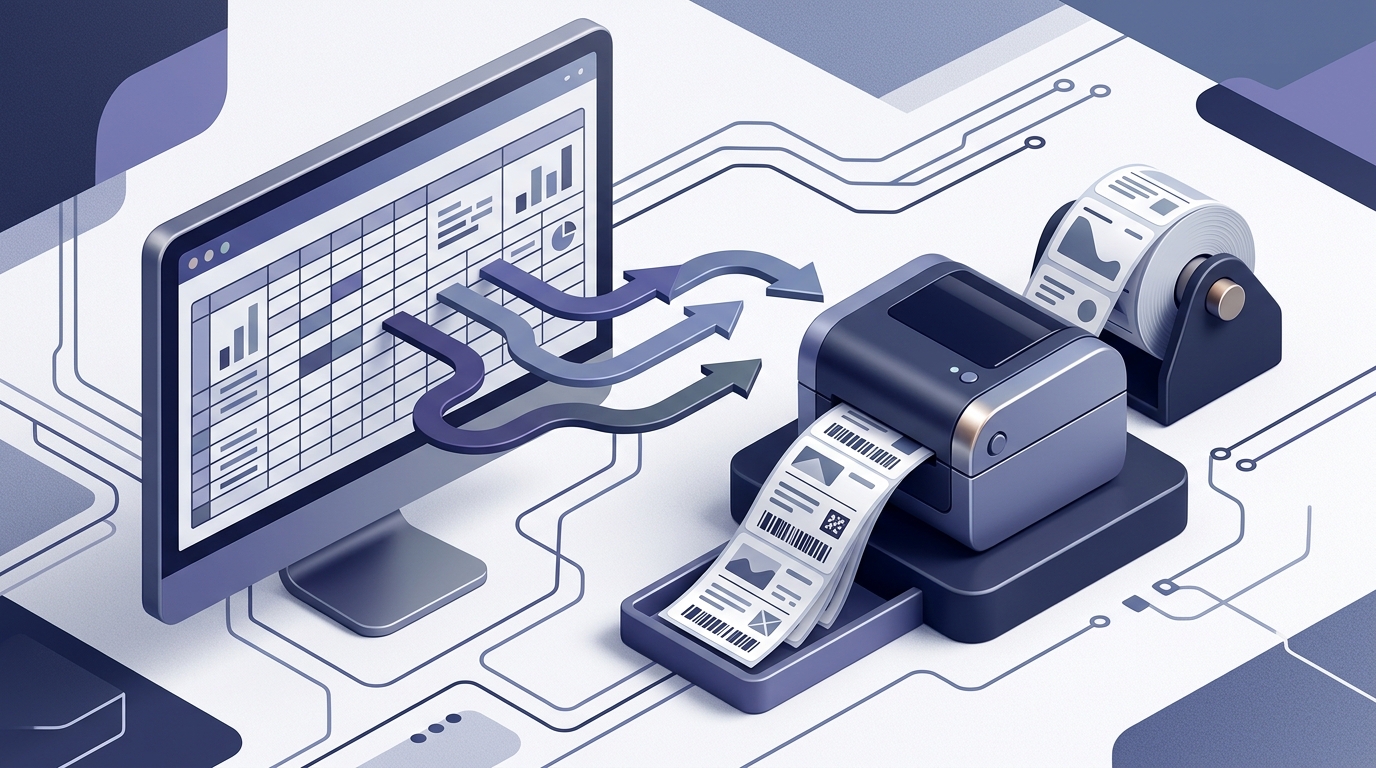
How to Print Labels from Google Sheets with LPSNG
You have rows of addresses, product data, or inventory records in Google Sheets. You need professional-looking labels without manually copying values into a layout or writing a custom script. This guide shows you exactly how to connect a Google Sheet to LPSNG, design a label template, bind spreadsheet columns to label fields, and print or export labels directly from the spreadsheet.
By the end, you will have a repeatable workflow: update the sheet data, open the saved LPSNG template, preview a sample, and print. LPSNG is the Next Generation Label Printing System from RSJ Software GmbH, and its Google Sheets add-on provides a managed, no-code path from spreadsheet data to finished labels.
Prerequisites
Before you start, make sure you have:
- A Google account with access to Google Sheets.
- A web browser — Chrome is recommended — and an internet connection.
- The LPSNG add-on installed from the Google Workspace Marketplace. See the official Google Sheets Add-on page for installation details.
- A label printer, either thermal or standard, or the ability to export PDF/PNG output for later printing.
- Basic familiarity with Google Sheets, including entering data and selecting ranges.
Step-by-Step: Printing Labels from Google Sheets
Step 1: Prepare Your Data in Google Sheets
Make each row represent one label. Use a header row with consistent column names, and put one label record in each row below it.
For example, a small shipping-label sheet might look like this:
company,street,city,zip,product,barcode
Acme GmbH,Mainzer Str. 1,Berlin,10115,Widget A,4006381333931
RSJ Beispiel GmbH,Ringstr. 7,München,80331,Widget B,4006381333948
Keep the header names stable. If a label needs a combined value such as a full address, create it in the sheet with a formula:
=TRIM(A2 & " " & B2)
The less post-processing you do later, the easier the label binding becomes.
Step 2: Open the LPSNG Add-On
In Google Sheets, open the Extensions menu and launch the LPSNG add-on. The add-on authenticates using OAuth2 and only accesses the spreadsheet data you authorize.
Once the add-on opens, start a new label template or open an existing one. This is where the Next Generation Label Printing System takes over: layout, data binding, rendering, and print output all happen inside the managed add-on workflow.
Step 3: Design Your Label Template
Use the visual designer in the add-on to place the elements you need on the label:
- Text fields for company, address, product, or other variable data.
- Images such as logos.
- Barcodes for product codes or serial numbers.
- Shapes and fixed elements that do not change.
For each variable element, bind it to a column from your Google Sheet. The binding panel maps label elements to spreadsheet columns, so the same template can render many different labels from the sheet rows.
Conceptually, the mapping works like this:
elements:
  - type: text
    source_column: company
  - type: text
    source_column: street
  - type: text
    source_column: city
  - type: barcode
    source_column: barcode
    symbology: select the symbology that matches the data
The exact mapping interface is visual, so you select columns from a list rather than writing YAML.
Step 4: Configure Label Dimensions and Printer Settings
Set the label dimensions and printer options to match the label stock loaded in your printer. Typical values to check include:
Label width:   100 mm
Label height:   50 mm
Orientation:    portrait
Margins:        2 mm
Printer:        your thermal label printer
Media type:     direct thermal or transfer
Misalignment is almost always caused by a mismatch between the template dimensions and the actual label media, so verify these settings before printing.
Step 5: Preview the Labels
Before printing the full sheet, use the add-on’s preview function. LPSNG renders a sample using your actual spreadsheet data so you can check that:
- Values appear in the correct elements.
- Text is not truncated.
- Barcodes contain the expected data.
- Layout stays inside the label boundaries.
If something looks wrong, go back to the template or the data mapping and correct it before printing a large batch.
Step 6: Print Directly or Export to PDF/PNG
Once the preview is correct, choose the output that fits your workflow:
Direct print:  send labels straight to the selected label printer
PDF export:    save a printable document for batch printing or archival
PNG export:    save individual label images for review or other use
For a thermal label printer, make sure the correct driver and media settings are selected in the operating system or printer preferences before printing directly from the add-on.
Step 7: Save the Template for Reuse
Save the layout and all field mappings in the LPSNG add-on. The next time you need labels, you only have to update the Google Sheet data, open the saved template, and print. This removes the repeated design work and keeps labeling consistent across batches.
Verifying Your Labels Printed Correctly
After printing a small test batch, check the following:
- All data fields appear on the printed labels with no missing or truncated text.
- Barcodes scan correctly with a scanner or smartphone barcode app.
- Text and graphics stay within the label boundaries and are not cut off.
- Alignment matches the label stock, especially for multi-label sheets or rolls.
- Thermal labels are printed with the correct darkness and media settings.
If you want to verify exported barcode images outside the add-on, you can use a desktop barcode reader utility:
# Optional: verify an exported PNG barcode
zbarimg exported_label.png
Troubleshooting Common Issues
Labels Are Misaligned or Content Is Cut Off
Recheck the label dimensions, orientation, and margins in the add-on. Compare them with the physical label stock. Also verify the printer’s paper size and media type settings.
Data Is Not Appearing on Labels
Make sure the column headers in Google Sheets match the field mappings in the saved template. If you rename a header, update the binding in the LPSNG template.
Barcode Does Not Scan
Check that the barcode format selected in the label designer is appropriate for the data you are using. The data must be valid for the selected symbology, and the printed barcode must be large enough and sharp enough to scan.
Add-On Does Not Load or Shows Errors
Check browser compatibility and clear the browser cache. If the problem continues, reinstall the add-on from the Google Workspace Marketplace.
Print Quality Is Poor
For thermal printers, clean the printhead and adjust darkness or print speed. Print quality issues are often caused by media settings, not the label design itself.
FAQ
Can I use LPSNG with Google Sheets for free?
LPSNG offers different editions, including a cloud solution. The Google Sheets add-on is part of the LPSNG platform. Check the official pricing page for details on free trials or free tiers.
Does the add-on work with any label printer?
LPSNG supports a wide range of label printers, including thermal and standard printers. The add-on can print directly to your printer or export to PDF/PNG for use with any printer.
Can I automate label printing from Google Sheets?
Yes. Beyond the manual add-on workflow, LPSNG provides a web service interface and a standalone LPSNG Player that can be integrated into automated pipelines. The add-on itself also allows saving templates for quick repeat printing.
Is my data secure when using the add-on?
LPSNG uses OAuth2 for authentication and only accesses the data you explicitly authorize. Your spreadsheet data is used solely for label rendering and printing. Refer to the privacy policy for details.
Conclusion
The LPSNG Google Sheets add-on gives you a straightforward way to design and print professional labels directly from spreadsheet data. You prepare the sheet once, map the columns to a saved label template, preview against real data, and print or export the result.
Because Next Generation Label Printing System manages the rendering, field binding, and print output, you do not need to write scripts or interact with raw label protocols. For more advanced automation, LPSNG also offers a web service API and the standalone LPSNG Player. If you are still deciding which edition fits your environment, see the pricing overview.
Try the add-on with a small sheet first, print a test batch, and then reuse the saved template for future labeling runs. From there, you can explore other LPSNG features such as electronic shelf label integration and cloud printing.
Related posts
- LPSNG Pricing: Which Edition Fits Your Needs?